CAP 6938-02, Visual Simulation
Due: Wed. Feb 5, midnight
In this assignment you are required to create 3D texture-mapped models from a single image using the method described in "Single View Metrology," by Criminisi, Reid, and Zisserman, ICCV 99.
See also their IJCV paper: "Single View Metrology," by Criminisi, Reid, and Zisserman, IJCV 2001.You should follow the following steps:
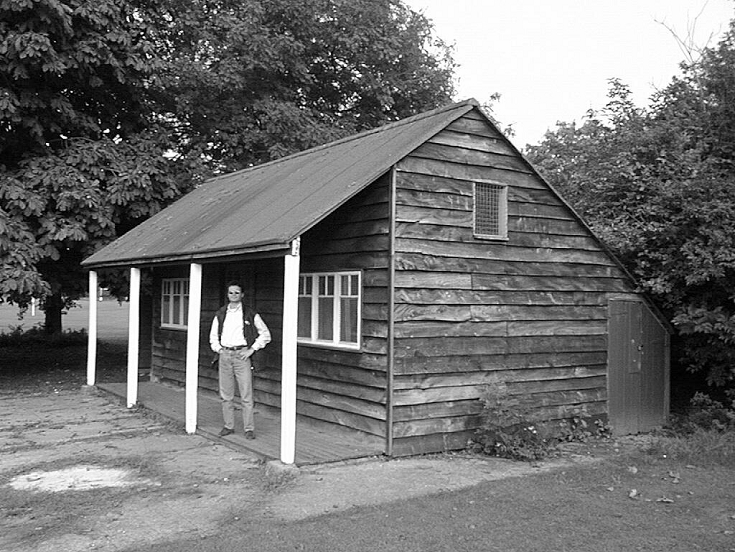
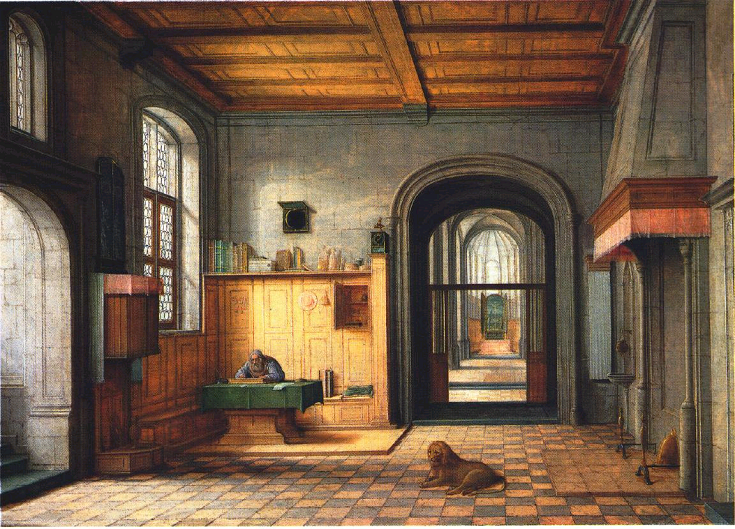
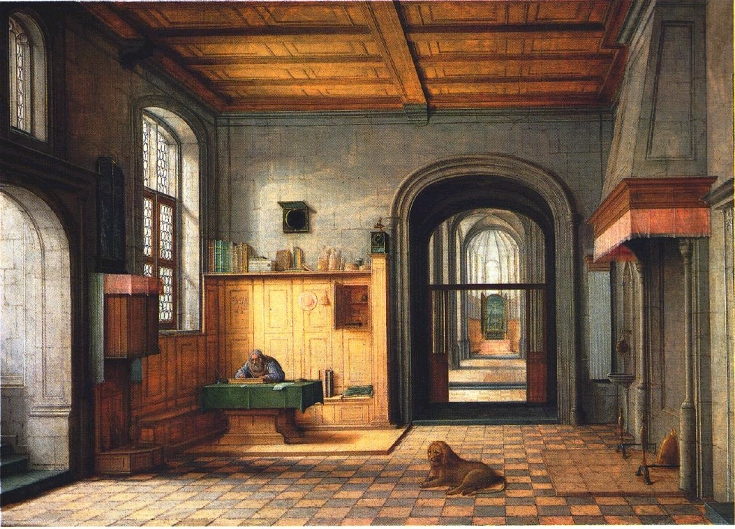
If you take your own pictures for this assignment, then you should use high resolution (e.g. 800x800, or higher) images or scans of at least two different scenes. You are also required to perform experimentations on at least a sketch or painting. Images might be from outdoors (buildings) or indoor (office). You might also want to consider aerial photographs of of a city (more occlusion may occur in this case, requiring some extrapolations of textures or geometry). The images need not be in color. Be sure to choose images that accurately model perspective projection without fisheye distortions. You'll want to choose images that are complex enough to create an interesting model.
Choose a scene coordinate frame by defining lines in the scene that are parallel to the X, Y, and Z axis. For each axis, digitize more than two lines parallel to that axis. The intersection of these lines in the image defines the corresponding vanishing point.
To compute vanishing points, choose line segments that are as long as possible and far apart in the image. Use high resolution images, and implement a zoom feature to specify line endpoints with sub-pixel accuracy. A small number of "good" lines is probably better than many inaccurate lines. You will save quite a bit of time by adding a "save" feature to your program so that you don't have to recalculate vanishing points every time you load an image. You could write them out in a simple ASCII file format of your own design, for example.
To avoid affine distortions in your model, you will need to set the scale parameters as described in lecture and in the paper by Criminisi et al. One way of doing this is to measure, in 3-D, when you shoot the picture, the positions of 4 points on the reference plane and one point off of that plane. The 4 reference plane points and their image projections define a 3x3 matrix H that maps u-v points to X-Y positions on the plane. The fifth point determines the scale factor alpha off of the plane, as described in lecture and in the paper. Alternatively, you can specify H and alpha without physical measurement by identifying a regular structure such as a cube and choosing its dimensions to be unit lengths. This latter approach is necessary for paintings and other scenes in which physical measurements are not feasible.
The paper provides two different approaches for computing distances: in-plane measurements and out-of-plane measurements. You can combine these techniques to increase the power of the technique. For instance, once you have computed the height of one point X off of the reference plane P, you can compute the coordinates of any other point on the plane through X that is parallel to P. By choosing more than one reference plane, you can make even more measurements. Be creative and describe what you did to make measurements in your web page.
Use the points you have measured to define several planar patches in the scene. Note that even though your measurements may be in horizontal or vertical directions, you can include planes that are slanted, such as a roof.
The last step is to compute texture maps for each of these patches. If the patch is a rectangle in the scene, e.g., a wall or door, all that is needed is to warp the quadrilateral image region into a rectangular texture image, using planar projective transformation. It is best to choose the width and height of the texture image to be the about the same as that of the original quadrilateral, to avoid loss of resolution. If the warp you perform scales down the image significantly along any direction, then you might find that bilinear interpolation does not filter sufficiently, and aliasing results. There are more elegant solutions, but a simple fix is to warp to a larger rectangle using a bilinear filter, and then filter that down to the desired size.
If the patch is a non-rectangular region such as the outline of a person, you will need to perform the following steps: (1) define a quadrilateral in the image containing the region you want, (2) warp this into a rectangular texture image, as before, and (3) edit the texture image and mark out "transparent" pixels by hand using image editing software. You could choose a distinctive color or pixel value as a flag to indicate transparency.
For each image create a VRML model (see documentation below). You should include two versions of the VRML model, one with the camera position shown and one without. The version without the camera will be easier to browse with the VRML viewer (because you can rotate about the center of the scene, not the scene + camera). Here are some commented sample VRML files:
Standing man with transparent pixels
And here are the two texture files required forthe floor and the standing guy.
You can use any text editor to read the contents of the VRML file. Make sure you install a vrml browser (e.g. CosmoPlayer) before running this vrml file.
You should also translate/rotate the model so that the initial view is similar to the input image, based on your knowledge of the camera position.I will give you the web site where you should upload your source codes and executables.